09 Nov First Time Flippers
A First Time For Everything
Before I get into the reason for this blog and DIY category let me tell you a quick story on how we have become first time flippers. This month (November) two years ago we closed on our first home. Lucky us! It was exciting and looked like a very easy task to complete all of the big wonderful projects we had planned. Although we enjoy completing those projects let me tell you it is not as easy as you think! The home was built in the early 60’s and everything looked original. I was ready to gut it all to take care of that one time. If only we could win the lottery to make that a reality!
Flipping On A Budget
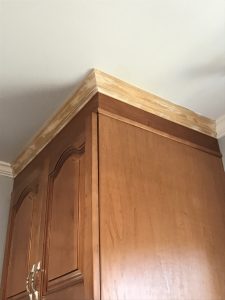
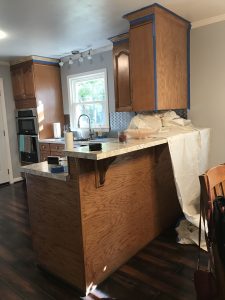
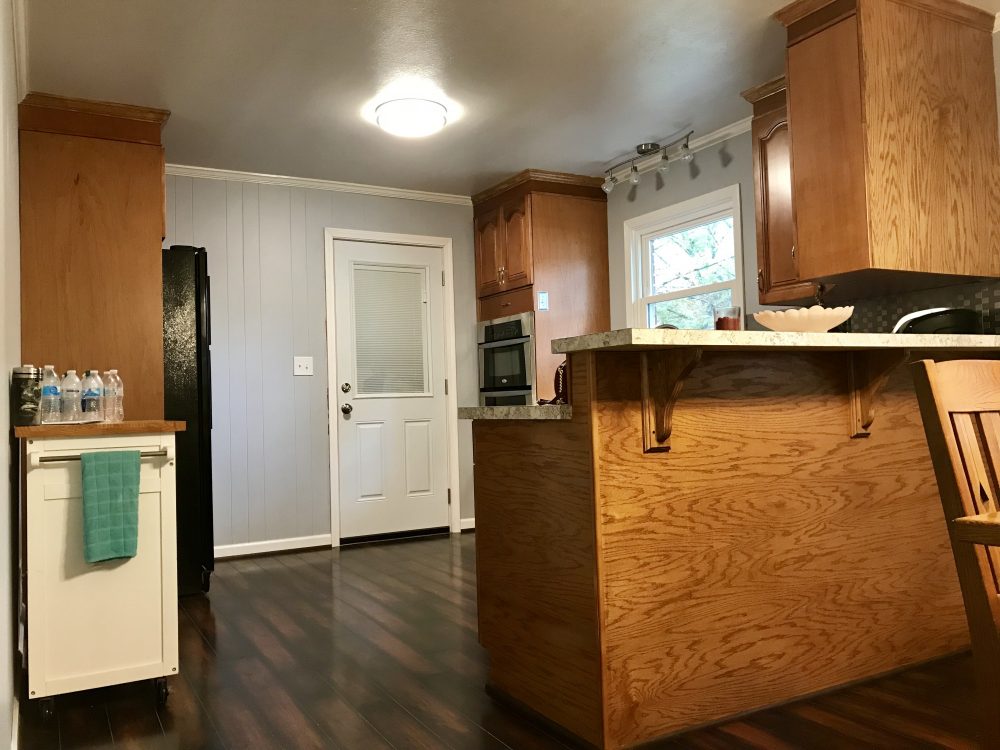
Fast forward to what would now be two years since closing. Happy house anniversary to us! To give an idea of how quickly we are flipping this home I finally just finished staining parts of bare wood in the kitchen that was put in with our kitchen remodel after closing. The how-to on that will be below! Yes, we are a little slow on projects but work, budget, and life come first sometimes. We flip on a budget and do bigger projects when we can. But, that is okay! Don’t ever think you have to do it all at once when living in it too. It can be tiring.
Part of this DIY/Flipping category as time goes by there will be plenty of new home trends, how-to, and DIY. All coming from our home flipping experience and what home trends I am seeing as a realtor that are helping homes sell fast!
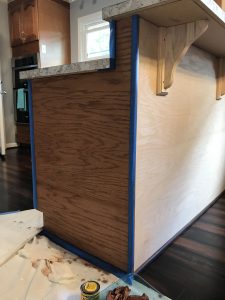
How-To Stain Bare Wood
Okay just an f.y.i. this was my very first time staining so although it may not be perfect we think it turned out good for the kitchen. The steps below are based on how I did it so change them as needed.
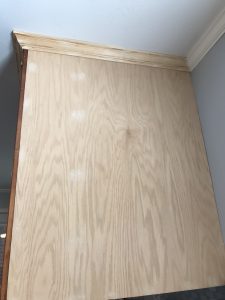
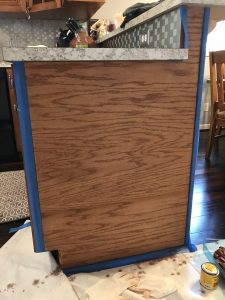
I think I did a pretty darn good job!
- Wipe down the wood with a damp rag (not paper towel). The paper towel will leave behind small bits that will end up in the stain.
- Tape of all edges. The stuff bleeds so if you don’t want serious clean up then tape up really well! We just used the blue painters tape.
- Put down those painting drapes. Again, it bleeds and if you are a little clumsy like me then you’ll have a little mess.
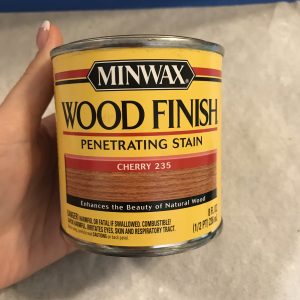
- Stain away! It’s best to go with the grain (in my opinion) when you can.
- Rub away excess. After waiting at least 30 seconds for it to achieve the color we wanted take a paper towel or rag to wipe of excess. All stain colors are different so test it before using it!
- Wait for several hours for it to dry completely and soak in to the drain.
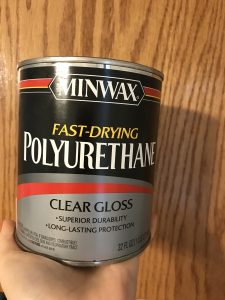
- Round one of poly. Go with the grain again and this one says it takes at least 3 hours to dry.
- Sand and Wipe Down. Take 220 grit and sand that baby till it is smooth to your liking then take a rag and wipe it to get all of that dust.
- Repeat steps 7 & 8 until the finish is to your liking. I did 3 coats of poly.
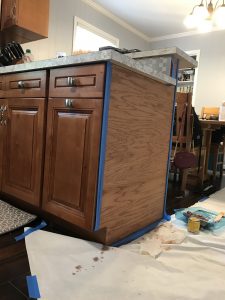
Final product is above!
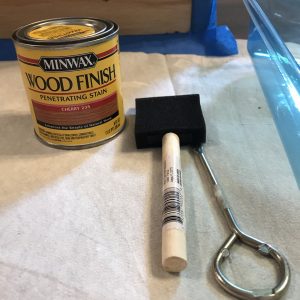
The tools used were sponge brushes and paint brushes they worked best for us. This really was a perfect weekend project and so happy its finally complete! ** Remember to open windows**
Stay tuned for the next blog
Everyone have a wonderful Thanksgiving!
Let’s Get Social: https://www.facebook.com/pierviewproperties/